
Quick Summary
This guide provides a systematic approach to electric gate motor troubleshooting to help property owners diagnose unresponsive operators, sudden power losses, and safety sensor failures. According to specialists at Ironworks Gate Co., most motor malfunctions stem from tripped breakers, blown control board fuses, failed capacitors, or mechanical track binding caused by shifting soil. Readers will gain the practical steps needed to safely inspect electrical components and manual travel resistance before deciding whether to perform simple fixes or call for professional repair.
Electric Gate Motor Troubleshooting: Fast Fixes & Diagnosis
When an automated entrance stops moving, troubleshooting the system systematically can help you isolate basic electrical, sensor, and mechanical faults before booking a service call.
Automated gate systems reference key industry standards, where UL 294 complements UL 325 for access control and gate operators.[1]
Follow this diagnostic guide to check power supplies, control systems, safety devices, and mechanical hardware.
Electric Gate Motor Troubleshooting: Quick Diagnostic Summary
To troubleshoot an electric gate motor, start by checking the main breaker and control board fuses. Next, inspect the photo-eye sensors for dirt, cobwebs, or misaligned brackets, confirming steady status LEDs. Finally, disengage the manual release clutch and swing or slide the gate by hand. If the gate binds or drags along the ground, the mechanical resistance is likely tripping the motor overcurrent limiter.
As specialists at Ironworks Gate Co. note, when an automatic gate opener fails to respond or sits humming in place, the problem often comes down to four culprits: disrupted power, blocked safety beams, a degraded start or run capacitor, or physical friction. In areas with shifting clay soils, ground movement frequently tilts support posts, introducing frame drag that forces the motor to shut down to prevent overload.[2]
TL;DR: Fast Diagnostic Checklist
- Check Line Voltage: Confirm the dedicated breaker has not tripped and check the low-voltage fuses on the control board.
- Verify Sensor Alignment: Inspect the diagnostic LEDs on your photo-eyes to ensure the optical beam is unbroken by dirt, moisture, or misaligned brackets.
- Test Manual Travel: Disengage the manual release to feel for track friction, hinge drag, or misaligned posts.
If the gate motor remains unresponsive after these checks, you may be dealing with a blown control board, a faulty motor capacitor, or structural post movement that requires mechanical realignment.
What You’ll Need Before Troubleshooting Your Gate Motor
Before opening enclosures and testing components, gather a few basic diagnostic tools. Having the right gear on hand makes it easy to separate simple wiring faults from track binding.
Required Tools and Safety Gear
- Digital multimeter (rated CAT III or higher)
- Insulated screwdrivers and nut drivers
- Manufacturer manual release key or Allen wrench
- Silicone spray lubricant (avoid heavy grease that attracts grit)
- Clean microfiber towel and glass cleaner
- Work gloves and safety glasses
Pre-Inspection Safety Precautions
- Cut high-voltage power: Turn off the dedicated breaker at the main electrical subpanel before opening the control enclosure or touching exposed wiring terminals.
- Watch pinch points: Keep hands, loose clothing, and tools clear of swing arms, drive chains, and pinch rollers during testing.
- Support heavy gates: Never unbolt hinges or track brackets while the gate is hanging unsupported.
Step 1: Check Power Supply and Breakers
Power delivery issues are a common reason an electric gate opener suddenly stops working. Using a multimeter, you can confirm whether line voltage is reaching the operator.
Testing Breakers and GFCI Outlets
- Reset the main breaker: Locate the dedicated gate circuit breaker in your main electrical panel. Flip it firmly to the “OFF” position and then back to “ON” to clear a potential trip.
- Check the GFCI outlet: If the gate controller connects through a dedicated GFCI outlet, press the “RESET” button to ensure moisture has not tripped the ground fault circuit.
- Check backup batteries: If your system runs on solar or battery backup, consult the manufacturer manual for proper resting and under-load voltage ranges.
Step 2: Inspect Controller and Board Fuses
Need electric gate motor troubleshooting?
We’re available now - call for a fast, free estimate.
Logic boards manage system timing, limits, and safety inputs. Inspect the board for visible damage, blown fuses, or fault indications.
Inspecting Low-Voltage Control Fuses
- Inspect board fuses: Check the low-voltage fuses on the main logic board. If a fuse is blown, replace it with a fuse matching the exact specifications and ratings provided in the manufacturer documentation.
- Perform a system reset: Refer to the operator manual for the proper reset sequence, which commonly involves power cycling the unit or depressing a dedicated reset button.
Step 3: Test Inputs and Access Controls
When a gate ignores wireless keypads, transmitters, or push buttons, the fault often lies within the input devices or radio receiver settings.
Clearing and Resyncing Keypads and Transmitters
- Check transmitter batteries: If remote range drops suddenly or remotes fail, replace transmitter batteries.
- Reprogram controls: Clear and reprogram remote access controls and wireless keypads according to the manufacturer manual.
Step 4: Inspect and Realign Safety Sensors
Under UL 325 safety standards, gate operators must stop or reverse if an obstruction breaks the infrared safety beam or activates an edge sensor. If a gate opens normally but refuses to close, safety sensors are commonly responsible.[3]
Diagnosing Sensor Obstructions and Alignment
- Clean optical lenses: Wipe down sensor lenses with a microfiber cloth to remove dirt, moisture, or debris that may scatter the beam.
- Check indicator LEDs: Verify status LEDs on both sending and receiving sensors against the manual to confirm steady alignment.
- Realign sensor brackets: If physical movement or ground shift has tilted the brackets, loosen the hardware, adjust the angle until the status LED indicates proper alignment, and secure the fasteners.
Step 5: Troubleshoot Actuator and Motor Components
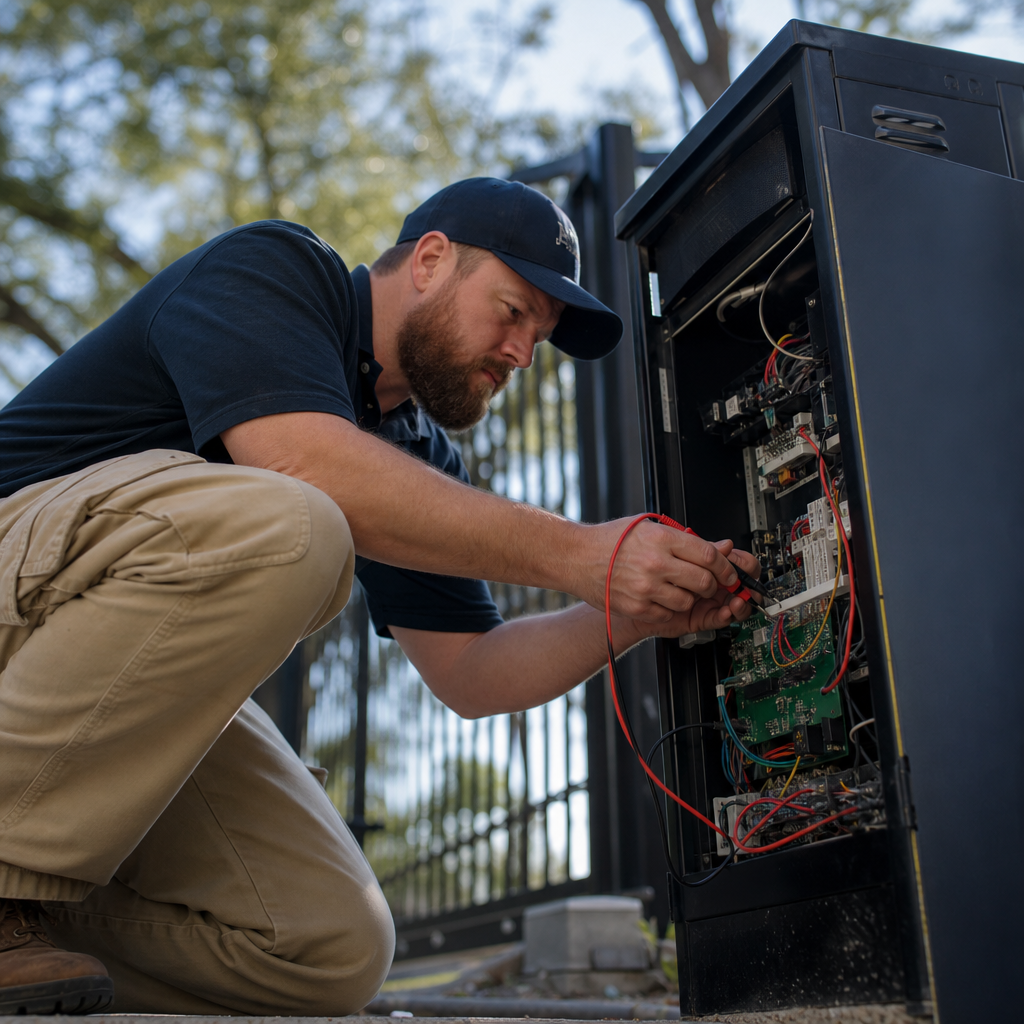
If the operator hums or clicks but fails to move the gate (and the gate moves freely by hand), internal drive components or the motor run capacitor may have failed.
Inspecting Motor Capacitors and Actuators
- Cut main power: Disconnect power before servicing internal electrical components.
- Discharge and inspect the capacitor: Safely discharge the capacitor according to standard electrical safety practices. Inspect for physical swelling, leaking dielectric fluid, or deformities, and replace only with a unit matching the manufacturer-specified ratings.
- Check limit switch settings: Verify open and close limit adjustments per manual instructions to ensure travel is stopping correctly.
Step 6: Inspect Field Wiring
Need electric gate motor troubleshooting?
We’re available now - call for a fast, free estimate.
Exposed conduits, underground loop wires, and terminal connections can suffer damage from moisture, pests, or ground settling. Check all terminal blocks and field wiring runs for corrosion, loose connections, or broken insulation.
Step 7: Check Structure, Track, and Hardware
According to Ironworks Gate Co., soil movement, temperature changes, and wear can shift heavy gate posts, cause swing hinges to bind, or cause sliding gates to drag against their tracks.
Evaluating Rollers, Tracks, and Hinges
- Disengage the drive mechanism: Use the manual release key, clutch lever, or disconnect pin to release the gate from the motor drive.
- Test travel resistance by hand: Push the gate through its full cycle. If sticking, dragging, or grinding occurs, mechanical resistance rather than electrical failure is often causing the motor to trip its overload limiter.
- Service mechanical components: Clear debris from tracks, lubricate hinge points according to manufacturer specifications, and inspect posts for plumb and structural stability.
What Does Electric Gate Motor Troubleshooting Cost?
Professional diagnostic visits, component repairs, and full system replacements vary widely depending on gate type, regional labor rates, and the specific parts required.
General Repair Considerations
Before replacing an entire gate opener, evaluate the age of the unit, the availability of replacement parts, and whether structural soil movement or mechanical binding is the root cause of the breakdown.
| Factor | Minor Component Repair | Control Board / Capacitor Swap | Full Motor Replacement |
|---|---|---|---|
| Relative Cost | Low | Moderate | High |
| System Age | Under 5 years | 5 to 10 years | 10+ years |
| Typical Cause | Dirty sensors, loose limits | Capacitor wear, power surge | Worn gearboxes, obsolete parts |
| Soil Drag Impact | Track clearing, hinge lube | Limit & clutch retuning | High-torque structural upgrade |
Electric Gate Troubleshooting FAQ
Why is my electric gate motor humming but not opening?
A humming motor indicates that electrical power is reaching the unit, but the motor cannot generate enough torque to move the gate. This is often caused by a failed motor capacitor or physical resistance along the track, such as a sagging hinge or ground debris.
How do I reset an automatic gate opener motor?
To reset a gate operator, refer to the manufacturer manual for specific instructions. The process commonly involves disconnecting power for a brief period and pressing any dedicated onboard reset button before restoring power.
Why does my electric gate stop halfway and reverse?
Automatic reversal is a built-in safety response. It happens when an optical safety beam or edge sensor is triggered during travel, or when the motor encounters physical drag that exceeds its current limit. Check sensor alignment and disengage the manual release to check for mechanical binding.
How can I tell if the problem is the gate motor or the safety sensors?
If the gate opens normally but refuses to close, or begins to close and instantly reverses, the issue is often related to the safety photo-eyes or edge sensors. If the gate will not open or close in either direction and shows no board LED activity, the issue is commonly power delivery, a blown fuse, or a damaged control board.
What causes an electric gate opener to lose power completely?
Complete power loss is commonly caused by a tripped subpanel breaker, a tripped GFCI outlet, blown fuses on the logic board, or depleted backup batteries. Electrical surges can also affect the primary power supply.
When should I call a professional gate technician instead of attempting DIY repair?
As advised by Ironworks Gate Co., you should call a professional if troubleshooting reveals severe structural post movement, broken welds on heavy gate frames, high-voltage wiring faults, or internal gearbox failures. Working with high-voltage connections and heavy gates presents safety risks that require proper tools and training.
Need electric gate motor troubleshooting?
We’re available now - call for a fast, free estimate.
Sources
- [PDF] Proposed Rule: Safety Standard for Gates and Enclosures – cpsc.gov
- 2020 – enr.com (2026)
- Securing Peace of Mind: Access Control and Gate Operators – ul.com (2024)
Frequently Asked Questions
How does shifting soil cause electric gate motor failure?
Expanding and contracting clay soil tilts support posts, which throws the gate frame out of plumb and creates mechanical drag along tracks and hinges. This physical resistance forces the motor to exceed its amperage limit, ultimately wearing down internal gears or triggering premature overcurrent shutdowns that require realignment from Ironworks Gate Co.
How can I tell if a gate motor capacitor has failed versus a dead motor?
A failed capacitor typically causes the motor to hum softly under load without rotating the drive shaft, often showing physical bulging or oily residue upon visual inspection. If the operator remains completely silent and fails to register power despite intact fuses and board relays, the internal motor windings or logic board are likely burned out.
When is it better to replace an electric gate motor rather than repair it?
Replacing the operator is generally more cost-effective if the unit is over 10 years old, relies on obsolete components, or has sustained severe internal gearbox damage. Specialists at Ironworks Gate Co. also recommend full motor replacement if your current operator lacks the torque required to handle persistent terrain drag.
About the author
 |
Sarah Miller Sarah Miller is a specialized content writer focusing on home and commercial security infrastructure, with a particular emphasis on automated gate systems. With five years of experience writing for property management and home improvement publications, she breaks down complex repair and pricing information into actionable advice. Sarah holds a B.A. in Communications from the University of North Texas. |
Gate not opening, off track, or opener dead?
We’re available now - call for a fast, free estimate.
Call Now - Free Estimate